Very First Start
Overview
This easy step by step guide will lead you through the procedure to boot your UDOO for the very first time.
What do you need?

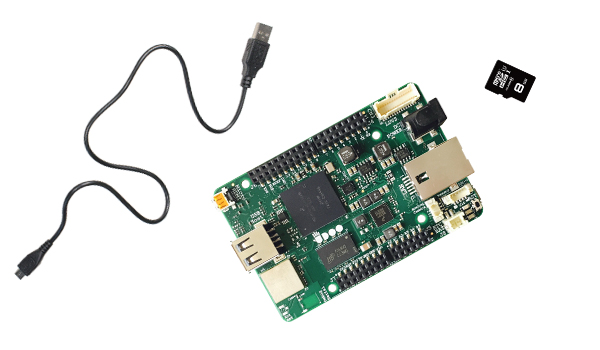
To use UDOO NEO as a computer you need:
- UDOO NEO;
- Micro SD card (at least 8GB), eventually preloaded with the Operating System;
- 12V 2A Power supply or USB Wall Charger 5V with Micro USB Data Cable;
- HDMI monitor or TV;
- Mouse;
- Keyboard;
- USB HUB or Host OTG Adapter Cable to add a second USB port (optional).
To use UDOO Neo as a headless IoT device you need:
- UDOO NEO;
- Micro SD card (at least 8GB), eventually preloaded with the Operating System;
- 12V 2A Power supply or USB Wall Charger 5V with Micro USB Data Cable.
1. Download UDOO Neo’s official Operating system:
The main “Hard Drive” of UDOO NEO is the Micro SD card. In order to get started you just need to download the official UDOObuntu Operating System and write it to your Micro SD card.
- Download any official Micro SD image from the image section of the website.
2. Burn UDOO Neo OS

Follow the guide to create a bootable Micro SD card for UDOO NEO.
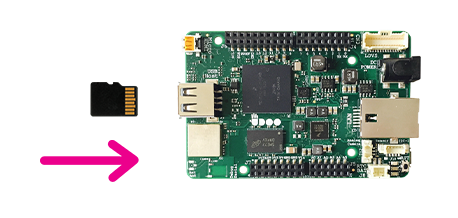
3. Insert the Micro SD card and power up!

As a Headless Device
- Power up the board via a USB to Micro USB cable connected to a computer, through a power adapter or through a 5V USB Wall Charger.
As a Computer
- Insert into your UDOO Neo the Micro SD card you just prepared;
- Plug Keyboard and Mouse;
- Connect your monitor via Micro HDMI Cable;
- Power up the board via a USB to Micro USB cable connected to a computer, through a power adapter or through a 5V USB Wall Charger;
- Connect the LAN cable (optional).
4. Ready!
UDOO Neo will start, and you’ve plenty of options to use it:
 UDOO Neo Documentation